What you see here is the first attempt to develop a camera drone from the 3D printer. I want to revisit the project and solve the problems of the prototype step by step.
Admittedly: the design is at least "plain" - but that wasn't my ambition either. The first version was a prototype quickly clicked together in Fusion 360, primarily to produce anything flyable at all. My focus here was primarily on the engineering, and I wanted to get a sense of where the challenges were in this project.
Goals of the project
- Develop a cheap camera drone to print yourself
- Gain experience in using Fusion 360
Overview:
- Flying the first prototype and what I learned from it
- Ruling out the motor mount as a source of failure
- New arm made from carbon tube
- Where do we go from here?
- Features of the drone
- The next steps
Flying the first prototype and what I learned from it
It didn't go too badly at all. The drone took off reliably and had fairly docile flight characteristics. It had power, was fast and agile. There were just a few small things to adjust in the trim.
Even the days after the maiden flight, I kept testing it successfully. I even had the chance to equip the drone with a GPS receiver. The idea: a "Return to Home" function (RTH) that triggers automatically in case of failure and reliably brings the drone back to the starting point and initiates a landing maneuver.
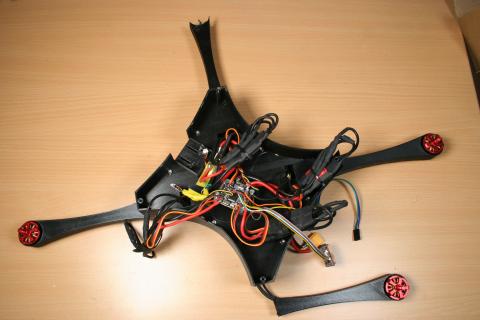
But the successes didn't last long: the test week ended in a bit of a disaster. I had just integrated a rudimentary "Return to Home" function, which I could activate manually via a switch on the remote control and gave the drone the signal to return to the starting point. But it didn't come to a test: The drone took off, climbed to about 10 meters and then suddenly initiated a somersault and crashed - you can see the result in the photo above..
What happened? I have several theories:
- Failure of a motor
- Deformation of the motor arm so that it braked the motor by grinding
- No adequate cooling of the ESCs
I think the second theory in particular is very likely. I have already noticed in the days before that the mounting screws of the motor have loosened due to deformations at the bottom of the arm. The motor gets very warm during operation and the arm printed from PLA doesn't seem to be able to withstand that heat. To make matters worse, the arm's closed design causes it to trap heat. It is possible that the deformations caused the motor to rub against the inside of the arm, causing it to suddenly slow down.
Ruling out the motor mount as a source of failure
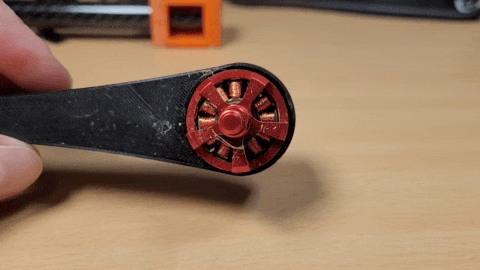
Generally, I am no longer happy with the design of the arm. The original idea for this came from a drone project on Thingiverse. There too, a hexagonal shaped arm is used with an enclosed motor mount. The arm is inserted into a recess in the drone body, also hexagonal in shape, and secured with a screw.
The problems with this design:
- Due to inaccuracies in 3D printing and a slight bridging above the hexagonal shape, the arm does not fit perfectly into the drone body
- No optimal flow of air around the arm
- Due to the closed design, no optimal cooling of the motor
The fact that a hexagonal shape is used here is already a compromise. For aerodynamic reasons, one would ideally have to print a round arm, but this is technically problematic with a 3D printer: A 3D printer applies the material in layers. So to achieve maximum stability, you have to print the arm lengthwise so a layer is laid from the side of the drone body to the motor mount. However, you can't print a perfect curve this way, because on the one hand you don't have a wide contact area of the arm on the print bed, and on the other hand there are overhangs due to the curve. The printer must therefore print the layers partially "in the air".
To print a tube you would have to align the arm vertically on the print bed and thus print virtually upwards in the direction of the Z-axis. However, this then comes at the expense of stability, as the individual layers are then no longer aligned longitudinally to the load on the arm. Due to vibrations and the general load, this would quickly lead to fractures.
New arm made from carbon tube
I decided not to print the arm myself anymore, but to use a carbon tube with 18mm diameter instead. On it, the motor should be able to be mounted freely on a base at the end. On the drone body I want to attach the arm in two half shells, similar to a pipe clamp. I can then just run the cables through the carbon tube to the ESCs inside the drone.

The advantages of carbon tube:
- low weight
- high stiffness
- easy to work with
The challenge here: motor mount and the attachment of the arm to the drone body must be secured against twisting. Shocks or even quick changes in the throttle must not change the arm or motor position. In addition, it must also be shown whether the chosen 18mm diameter of the carbon tube works. Is the thickness sufficient or would a thinner tube have sufficed?
Alone the arm of the drone is already a small project of its own: Does the idea work? Where are the problems? Is it also reliable over a longer period of time and under load?
At the end of the day, that's the appeal of such projects: to be faced with ever new problems and to develop ideas to solve them. These ideas then implement and try out. To draw new conclusions and to develop ideas further or to have the courage to throw them out of the window.
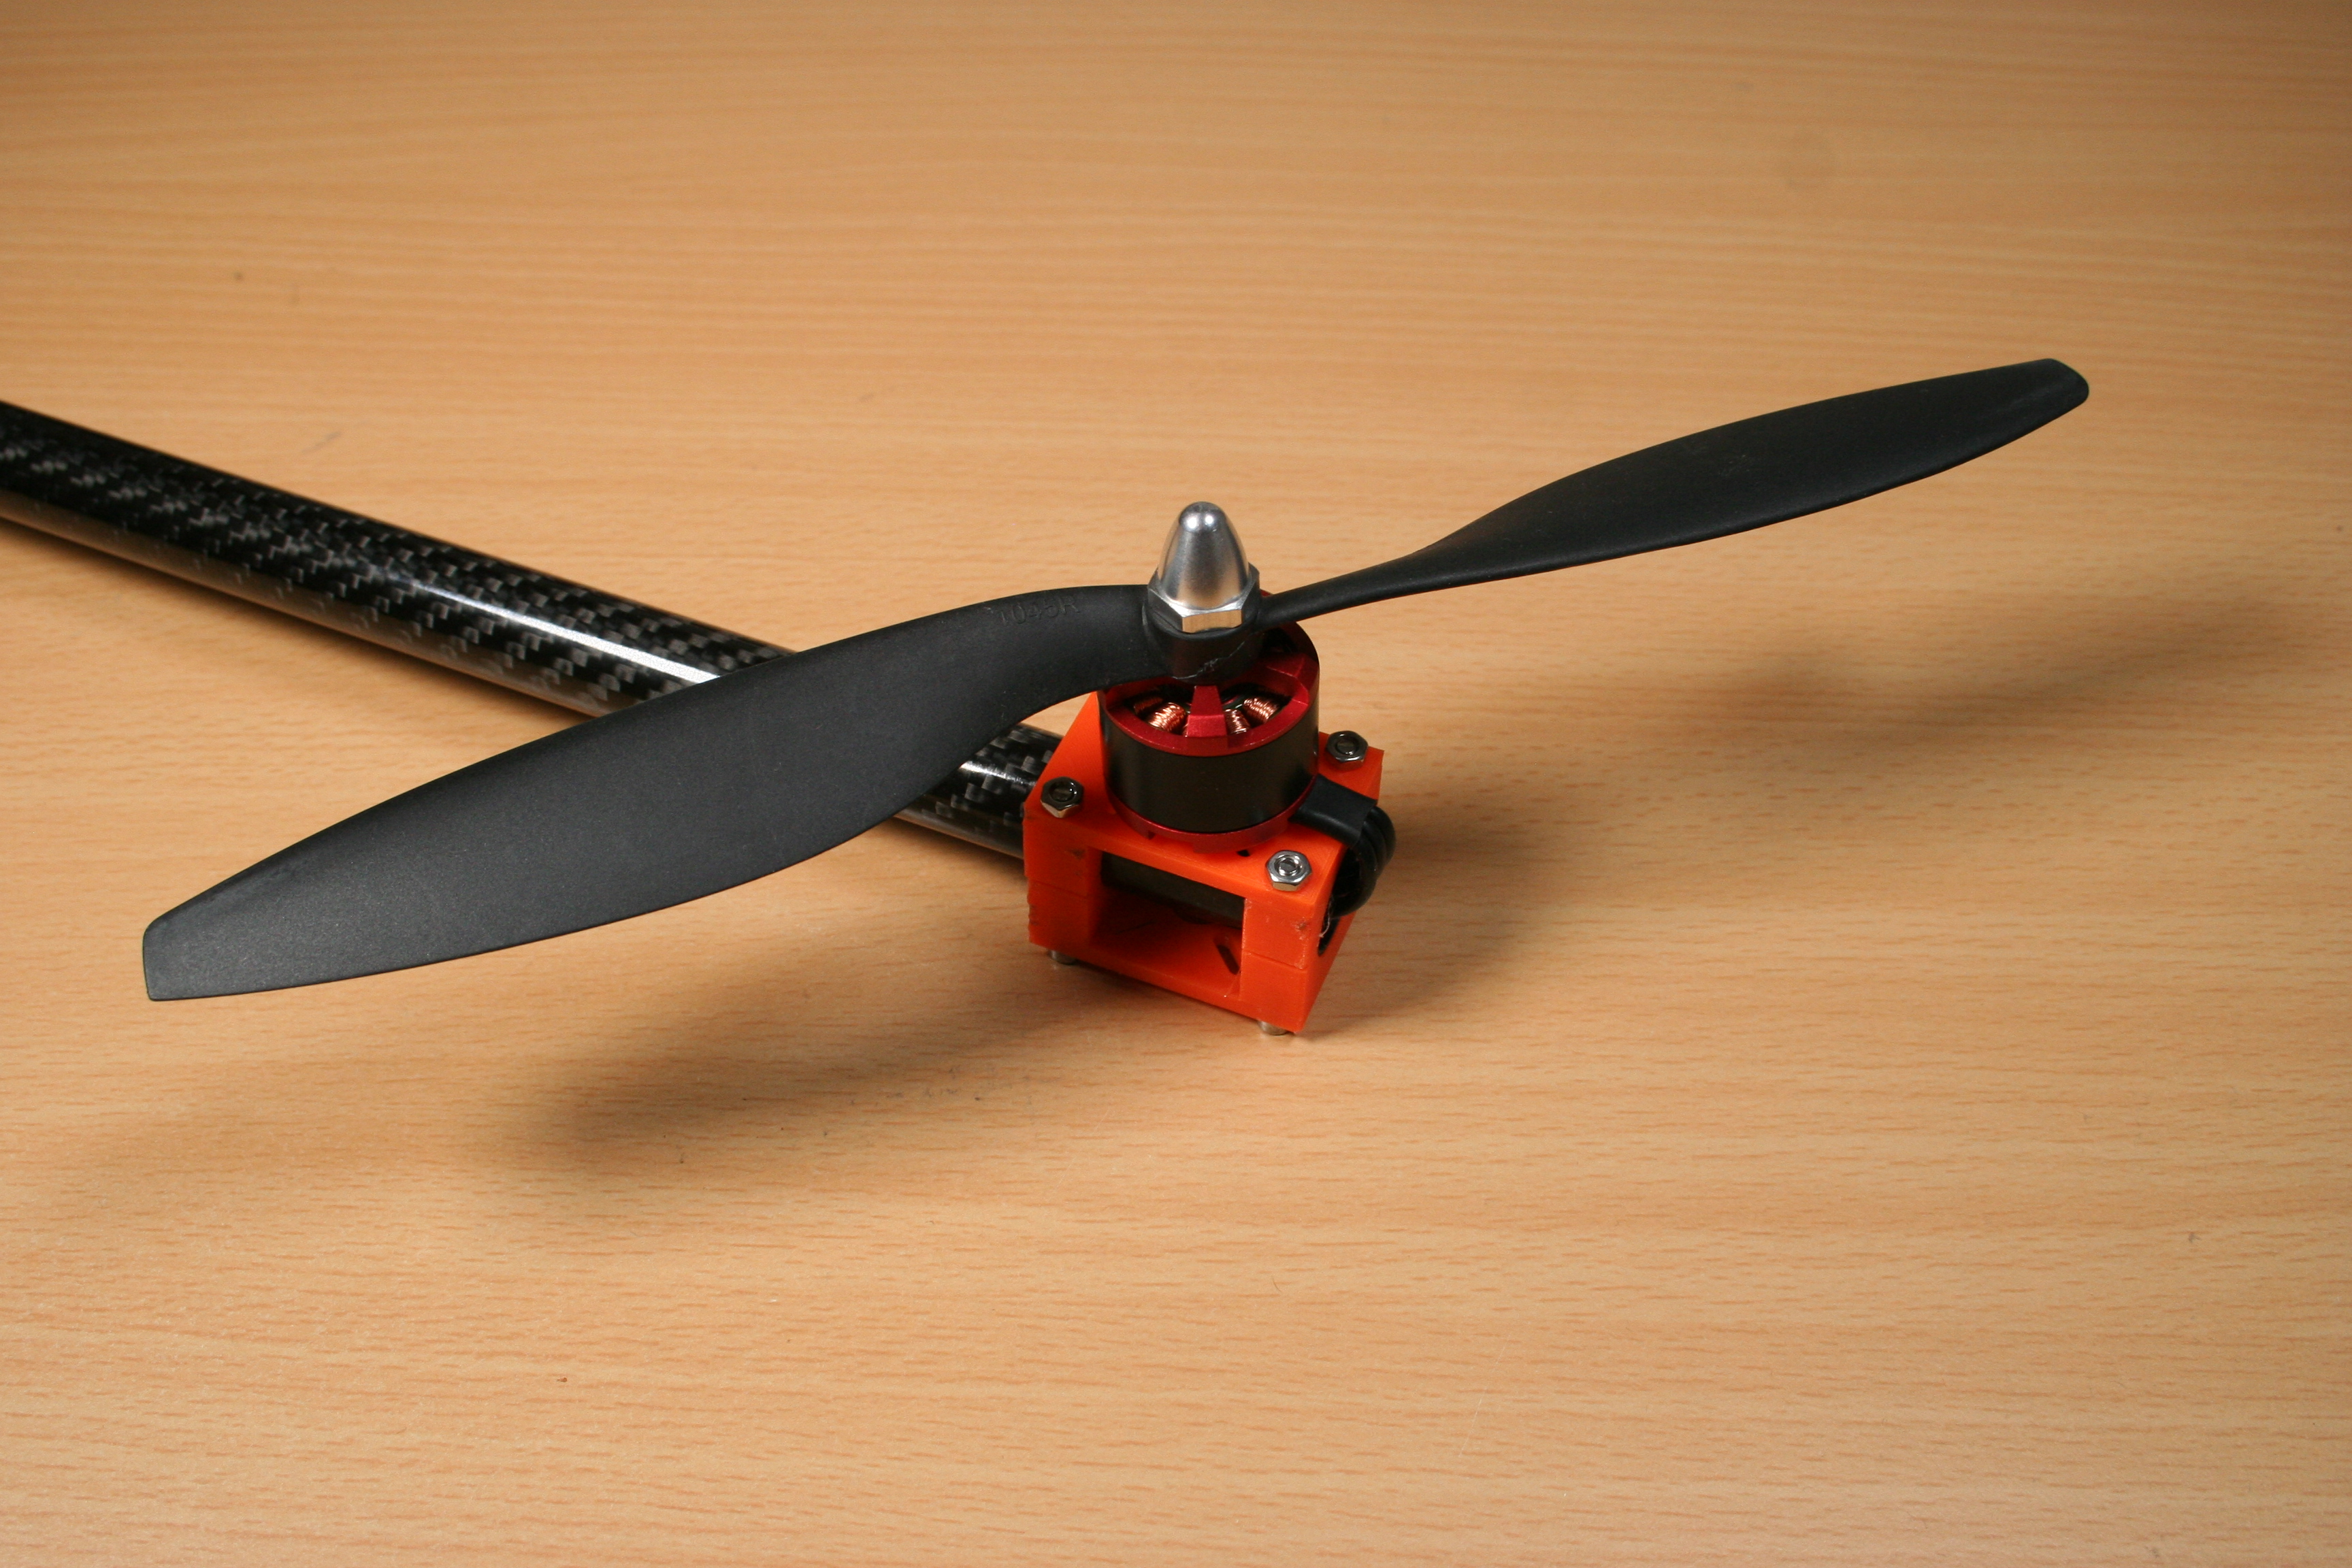
I printed the mount out of PETG, as it is stronger and more impact resistant than PLA. In addition, it is somewhat more temperature resistant.
I used the following print settings:
- Material: PETG
- Layer height: 0.2 mm
- Printing density: 100%
I fastened the half-shells with four M3 x 30 screws. And the result can be seen: my initial doubts whether the bracket is sufficiently secured against twisting, have dissolved into thin air. On the contrary: I am surprised how tight the bracket is. With bare hands I could not twist them in any case.
Here you can download the motor mount at Thingiverse:
Where do we go from here?
Now that I'm convinced I'm on the right track with the new arm, I can start redesigning the drone body. To do this, I first considered what features I wanted to put in the drone in the first place. This is ultimately crucial for the design: the more features, the more space I have to give them in the body as well. So for each feature, I also need to already know which technical devices I need for it and where I can best accommodate them.
For example, I want a "Return to Home" feature that will allow me to return the drone to the starting point at any time via a switch on the transmitter. Fully automatic. To do this, I also need a GPS receiver. A GPS receiver must be attached in as large a distance as possible to other installed transmitters in order not to be disturbed. So there are enough challenges!
Features of the drone
- Return to Home function
- GPS: fly waypoints on its own
- Carry a GoPro or comparable camera on a gimbal
- Transmit telemetry data (altitude, speed, and position)
- FPV (first person view) via video goggles
The next steps
- Selecting the technology I need (which flight controller? Which motors? Which ESCs?)
- Creating the frame and the case
Invitation to participate
Join me and get involved! It doesn't matter at all what your previous experience is. I will detail all the steps and my thoughts in this series of articles. I will publish all instructions and 3D print files to make it as easy as possible for you to rebuild.
If you ever get stuck somewhere and can't get any further, just drop me a line!
Comments