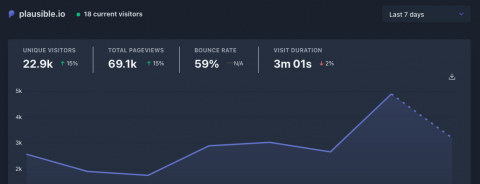
Plausible is a minimalistic and DSGVO-compliant alternative to Google Analytics. It works completely without cookies and is also open source. Quite a few good arguments. It's high time to turn my back on Google Analytics anyway, so I'm taking a closer look at Plausible
The goal: Give Plausible a chance and install my own Plausible server on a DigitalOcean droplet to track this website.
Overview:
- Clone Plausible Git Repository
- Configure Plausible
- Start Server
- Set up Nginx Reverse Proxy
- Create an SSL Certificate
Requirements
You need nothing more than a freshly launched DigitalOcean droplet (of course, you can use any other provider. These instructions should work anywhere). I decided to use a small Droplet: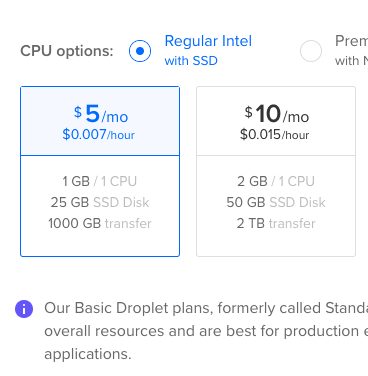
- 1 CPU
- 1 GB RAM
- 25 GB SSD Disk
- 1,000 GB Traffic
The performance should be perfectly sufficient for one page.

Click here to get a $100 Digitalocean credit for free.
1. Install Docker & Docker-Compose
sudo apt update && sudo apt upgradeIn the next step, I install Docker and Docker Compose
sudo apt install docker.io docker-compose2. Clone plausible Git Repository
Now I m cloning the Plausible hosting repository. This is already prepared and includes everything you need to run a Plausible server:
mkdir docker
cd docker
git clone https://github.com/plausible/hosting
mv hosting plausible
cd plausible
3. Configure Plausible
In the cloned repository, there is a plausible-conf.env that we still need to customize:
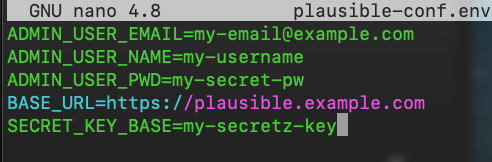
The values here are largely self-explanatory:
ADMIN_USER_EMAIL: Email address of administrator
ADMIN_USER_NAME: username of the administrator
ADMIN_USER_PWD: Password of the administrator
BASE_URL: URL via which the plausible server can later be reached
SECRET_KEY: A randomly generated secret key.
For example, such a key can be created like this:
openssl rand -base64 64Important: It is mandatory to prefix the BASE_URL with "http://" or "https://", otherwise the Docker container will abort during the installation of the system.
4. Start the Server
After making the configuration adjustments, I can start the Plausible Server:
docker-compose up --detachBy the way, the option "--detach" or even just "-d" will start the Docker container in the background.
The initial startup of the Plausible server takes some time. It creates a Postgres and a ClickHouse database for the user and tracking data, and a migration script sets up the database tables.
As an aside: ClickHouse is an open source database that is column-oriented, making it especially useful for evaluating large datasets in analytics. Thus, reports can be generated in real time.
5. NGINX Reverse Proxy Setup
Now I m already able to access my Plausible server via http://example.com:8000. However, since I want to open it up to the outside via port 80 and also use a Docker container or two on the server, I set up a reverse proxy. The reverse proxy basically routes all browser requests via the default port 80 to the local Docker container under port 8000.
sudo apt install nginxSo, I first create a configuration for the Plausible Reverse Proxy. To do this, I change to the NGINX configuration directory for the virtual hosts:
cd /etc/nginx/sites-available
nano plausible.con
NGINX Reverse Proxy Configuration for Plausible:
server {
  listen 80;
  listen [::]:80;

  server_name plausible.example.com;

  location / {
    proxy_pass http://localhost:8000;
  }
}
Replace plausible.example.com with the domain under which you want to reach your Plausible server later. Remember to create an A-record to the IP of the DigitalOcean droplet in your domain's DNS settings.
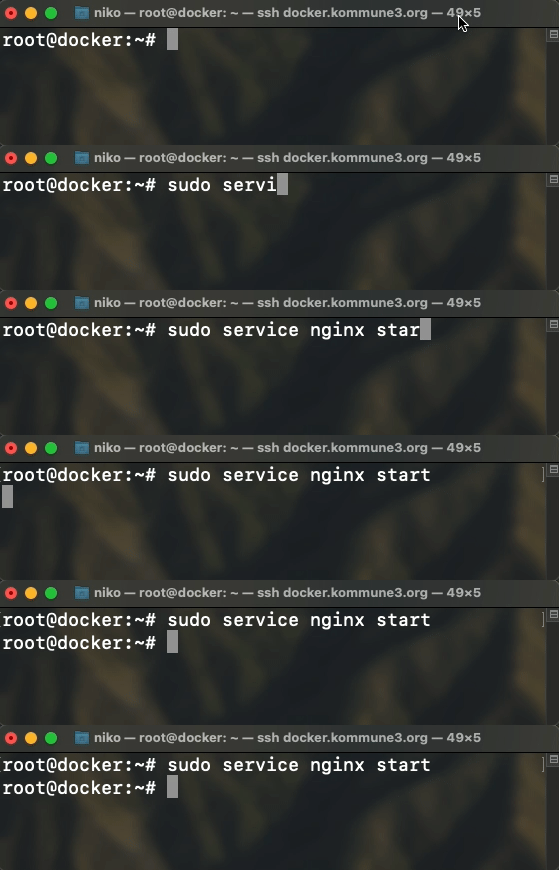
After saving the NGINX configuration, I still need to create a symbolic link to this file in the /etc/nginx/sites-enabled directory:
ln -s /etc/nginx/sites-available/plausible.conf /etc/nginx/sites-enabled/plausible.conf
sudo service nginx start
6. Create SSL Certificate
sudo apt install certbot
sudo apt install python3-certbot-nginx
sudo certbot --nginx -d plausible.example.com
Done! Now I can reach the Plausible server at https://plausible.example.com.
7. Log in and Create a Site
I can now log into my Plausible server with the credentials I entered in the plausible-conf.env above.
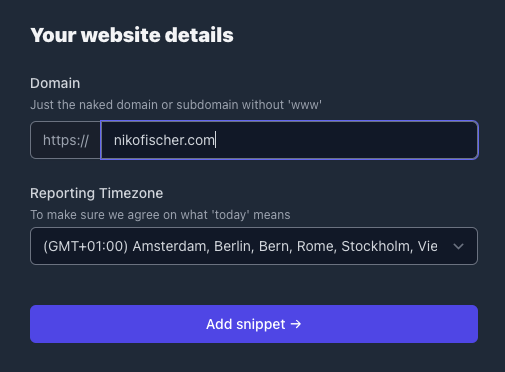
In the next step, I can immediately create an initial site to be tracked.
Your analytics is running — now what?
From now on Plausible shows you what visitors do on your site. What it cannot show you: whether Google can read the site cleanly in the first place. That is the gap Traffalyzer closes — it checks indexability, load time, and markup, and tells you which of it is costing you visitors before they can ever show up in your stats.
The first scan needs no account and takes under a minute. After that: 7 days free, then €5 per domain per month.
Rather look around first? traffalyzer.com
Comments